
Improving your video conference setup: 2022 edition
Back in May 2021 I wrote up a blog post with some advice on what equipment you could use to put the best possible touches on presenting remotely, be it at an internal meeting, or a full-on conference talk.
Well, it’s been about a year and a half since then, and I’ve continued to invest in my setup, so I figured it was worth sharing an update.
Some caveats
I’ll restate and add to some of the caveats that I gave in the last post.
- Part of what I do professionally is to present at meetups, conferences and other public speaking gigs. If all you do is Zoom into your weekly team meeting, this is all total overkill.
- I initially focused my purchases on equipment that was designed to live on my desk, and just for presenting at events. Since then, my approach has changed. I now purchase with one eye on how I can use the equipment out and about, with just myself or with multiple participants.
- There is no “perfect” setup, and you can under-invest in some places, and over-invest in others. You do what’s right for your needs, and more importantly, your budget.
With that out of the way, let’s dive in.
Audio
I’m still using a Yeti by Blue as my daily microphone. I know a lot of folks have started using the Wave series and I haven’t heard anything bad about them, but honestly the Yeti does the job for me.
But as I said, I’ve also started to invest in some more portable options, which is where the RODE Wireless GO II comes in. As they name suggests, this is a wireless mic, and when paired with a cabled lapel mic, it’s essentially the kind of microphone you would see a newscaster wear on the evening news.
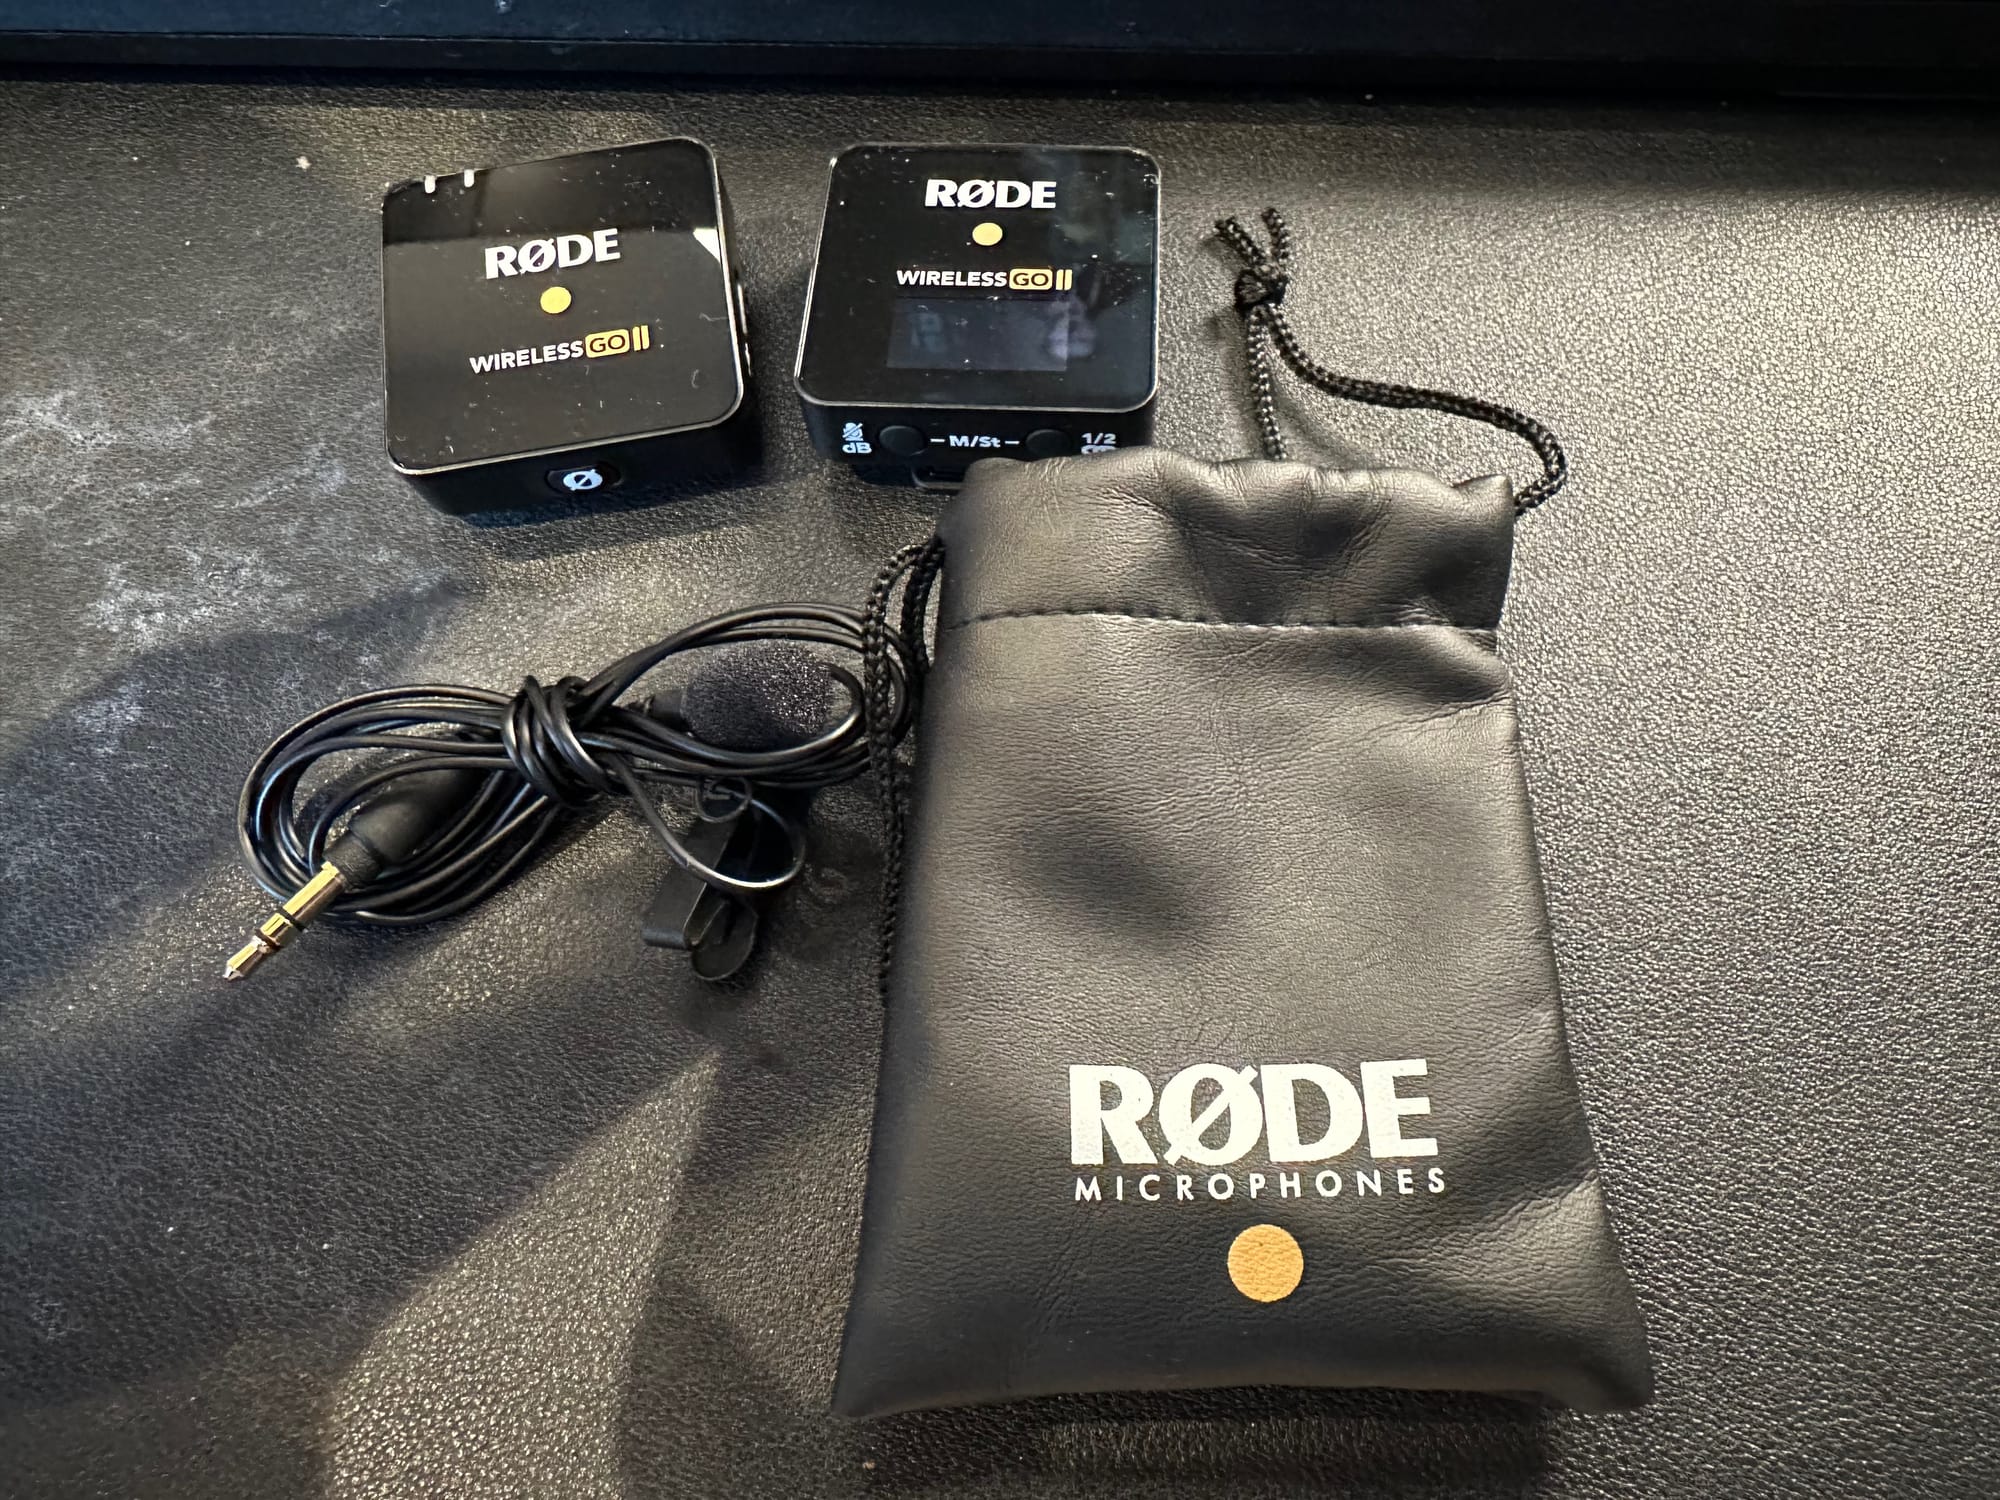
I use these when I want more of a waist up video, or since I have two, when I’m interviewing in person and the shot is much wider than me just sitting at my desk.
Video
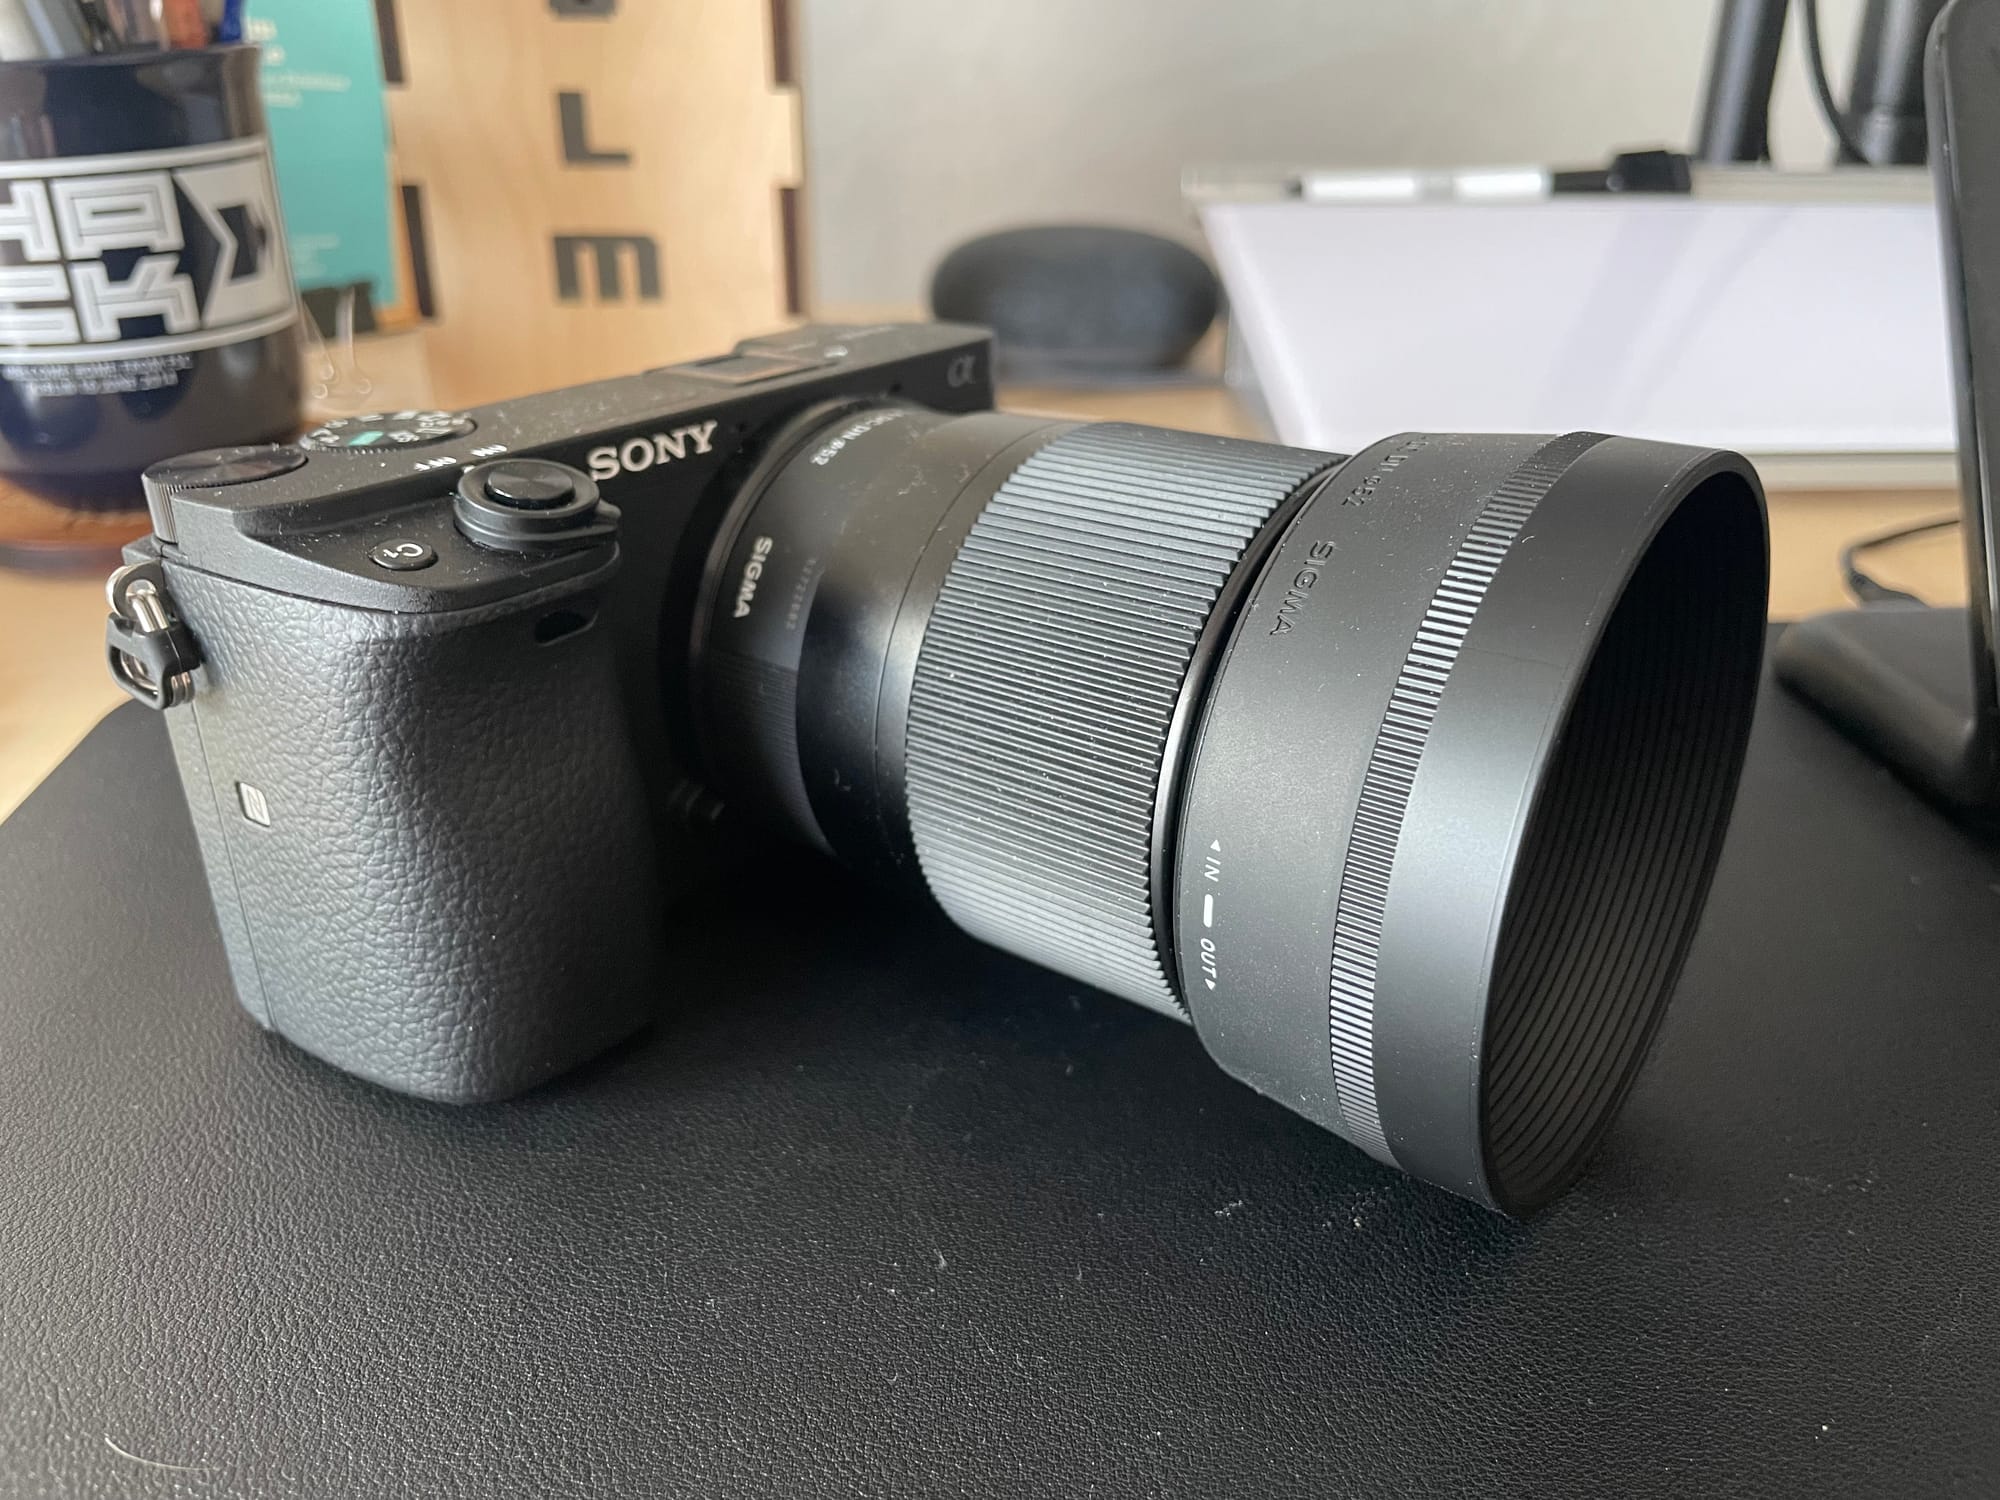
Similar to sticking with the Yeti, I’m still using my trusty Sony a6400 w/ Sigma Prime lens. It’s honestly perfect for my needs. Couldn’t fault it. And I get to take it out occasionally for photos of the family. Win Win.
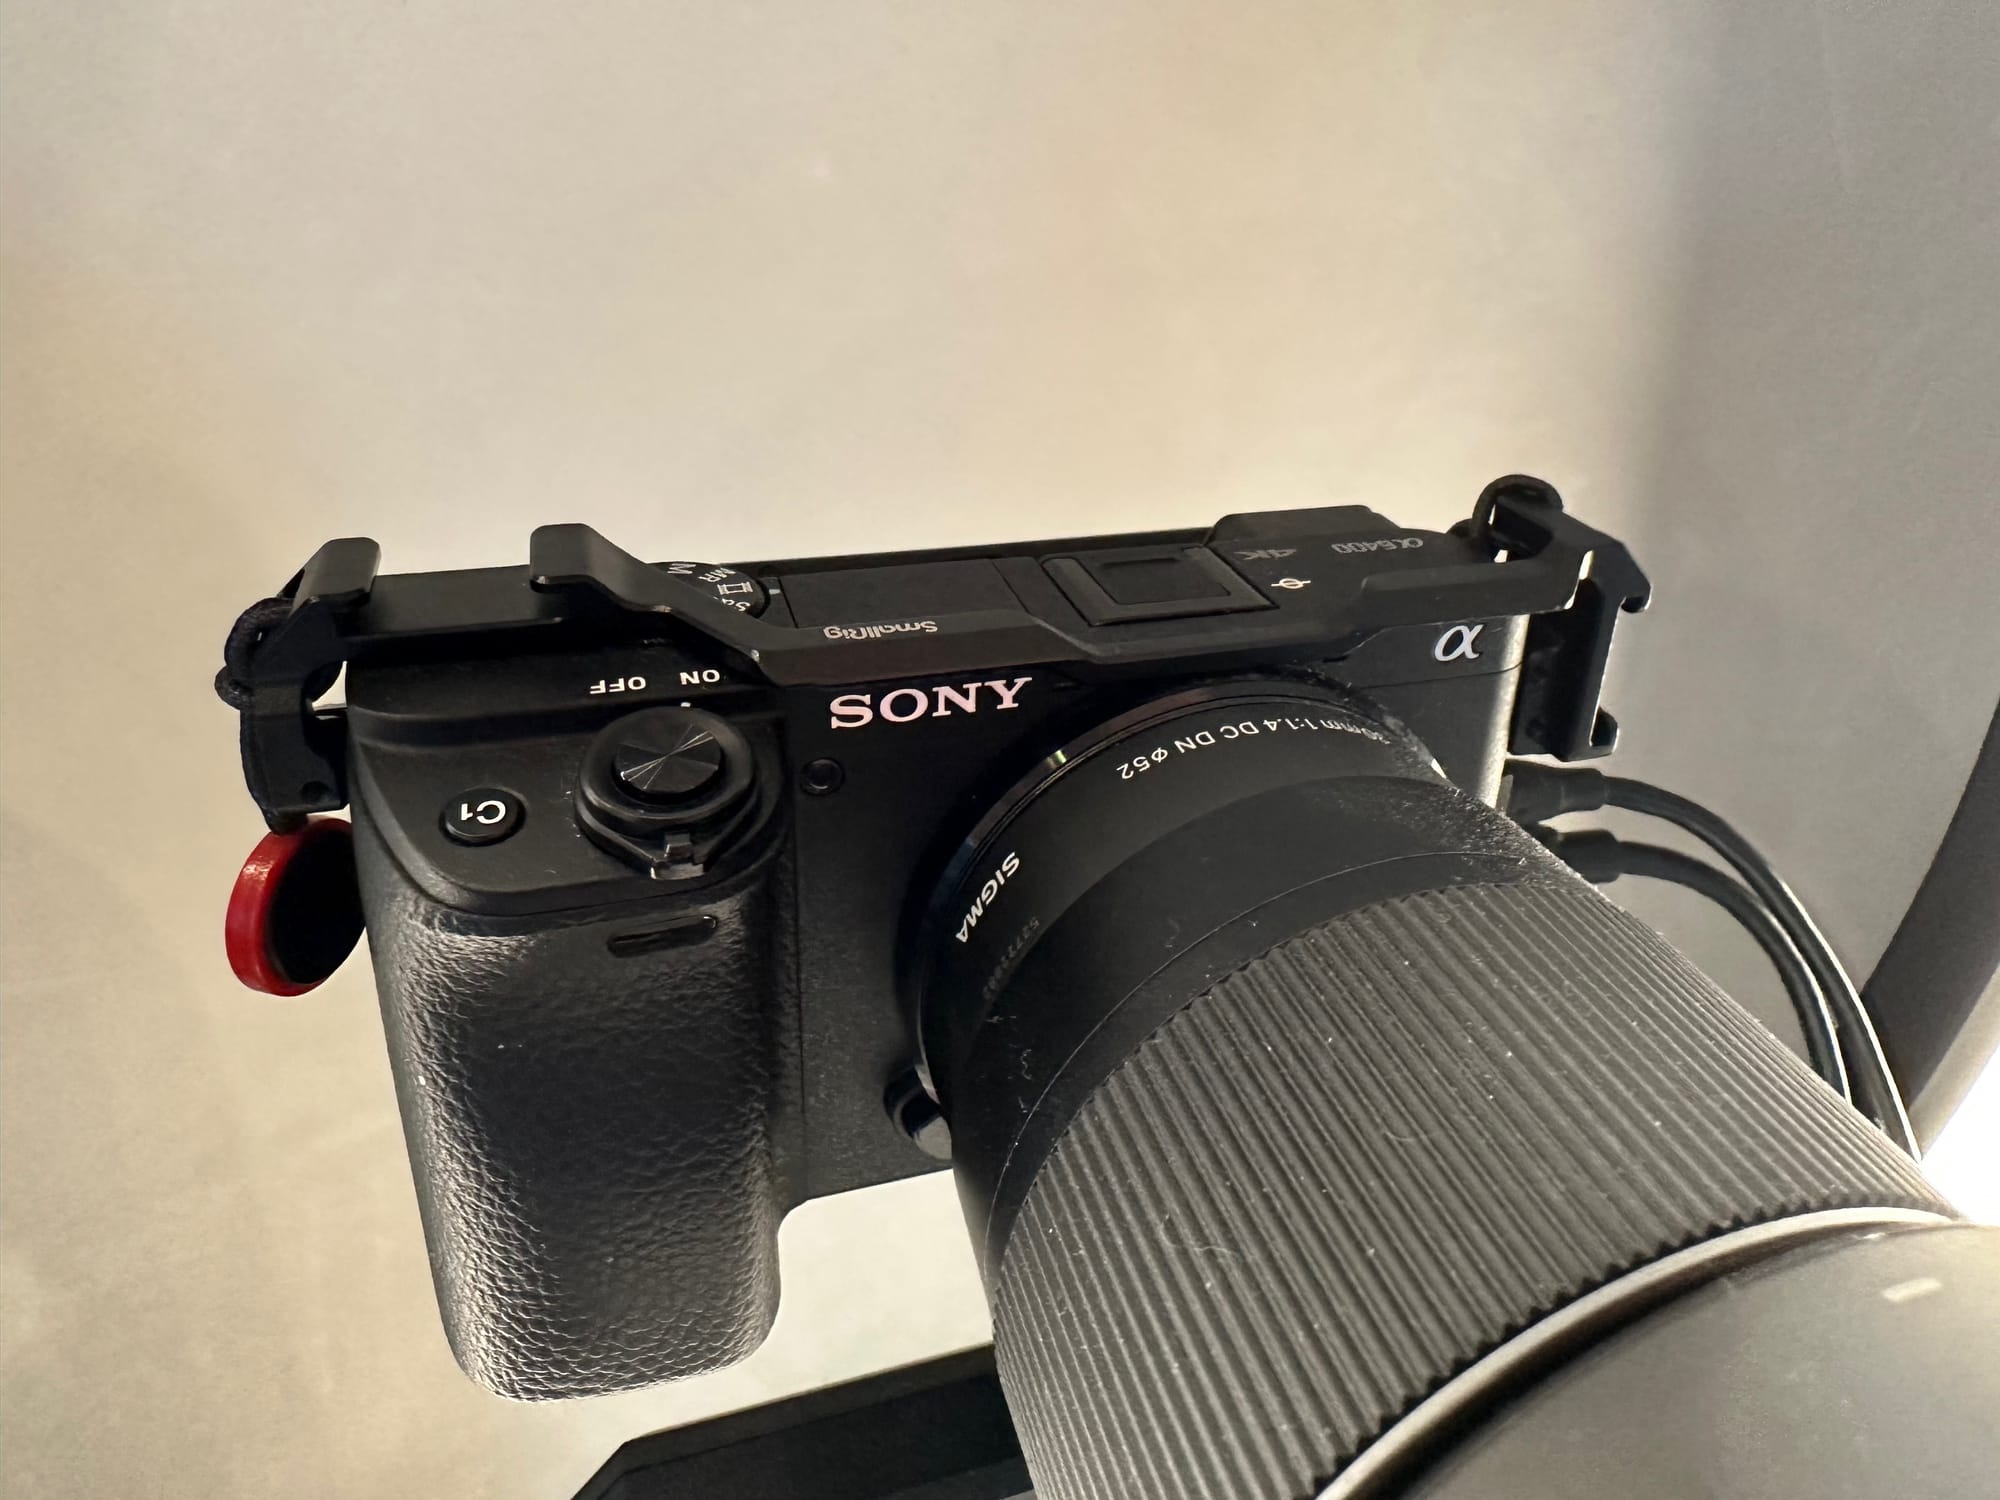
In terms of how I’ve upgraded it, I’ve added a SmallRig mount which gives me somewhere to mount the receiver for the RODE Wireless mic I mentioned above, and also gives me a spare place to mount some lighting.
Lighting
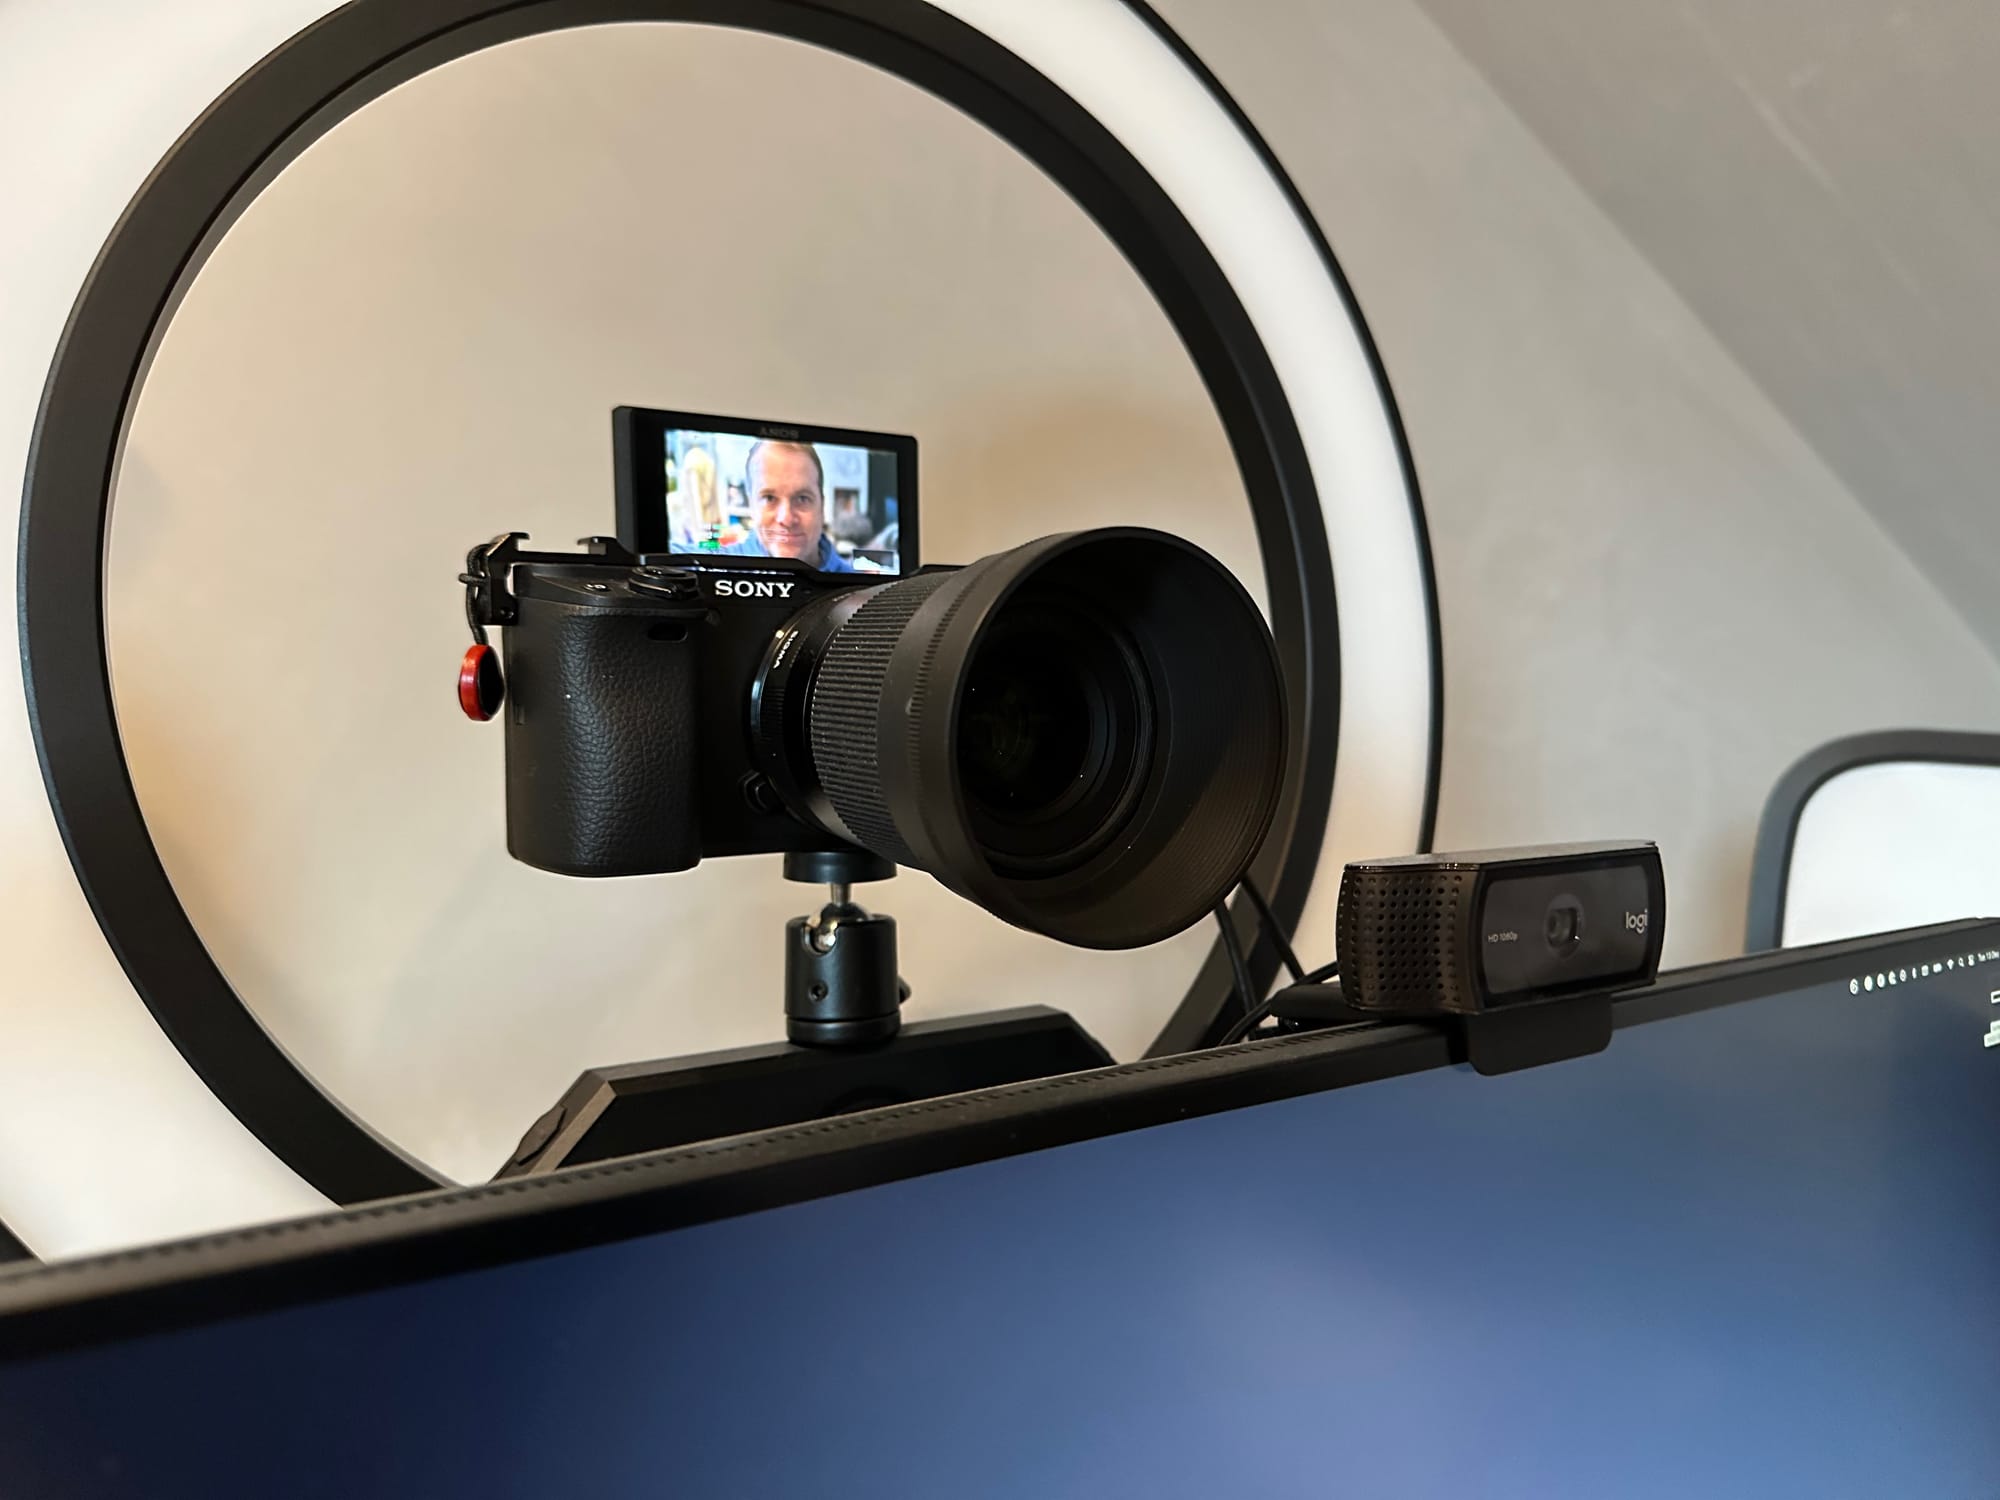
Speaking of lighting, I’ve made two investments here to supplement the Elgato Key Light that I mentioned in my previous post. First off, I’ve swapped out my $50 Amazon ring light for an Elgato Ring Light, which pairs very nicely with the Key Light.
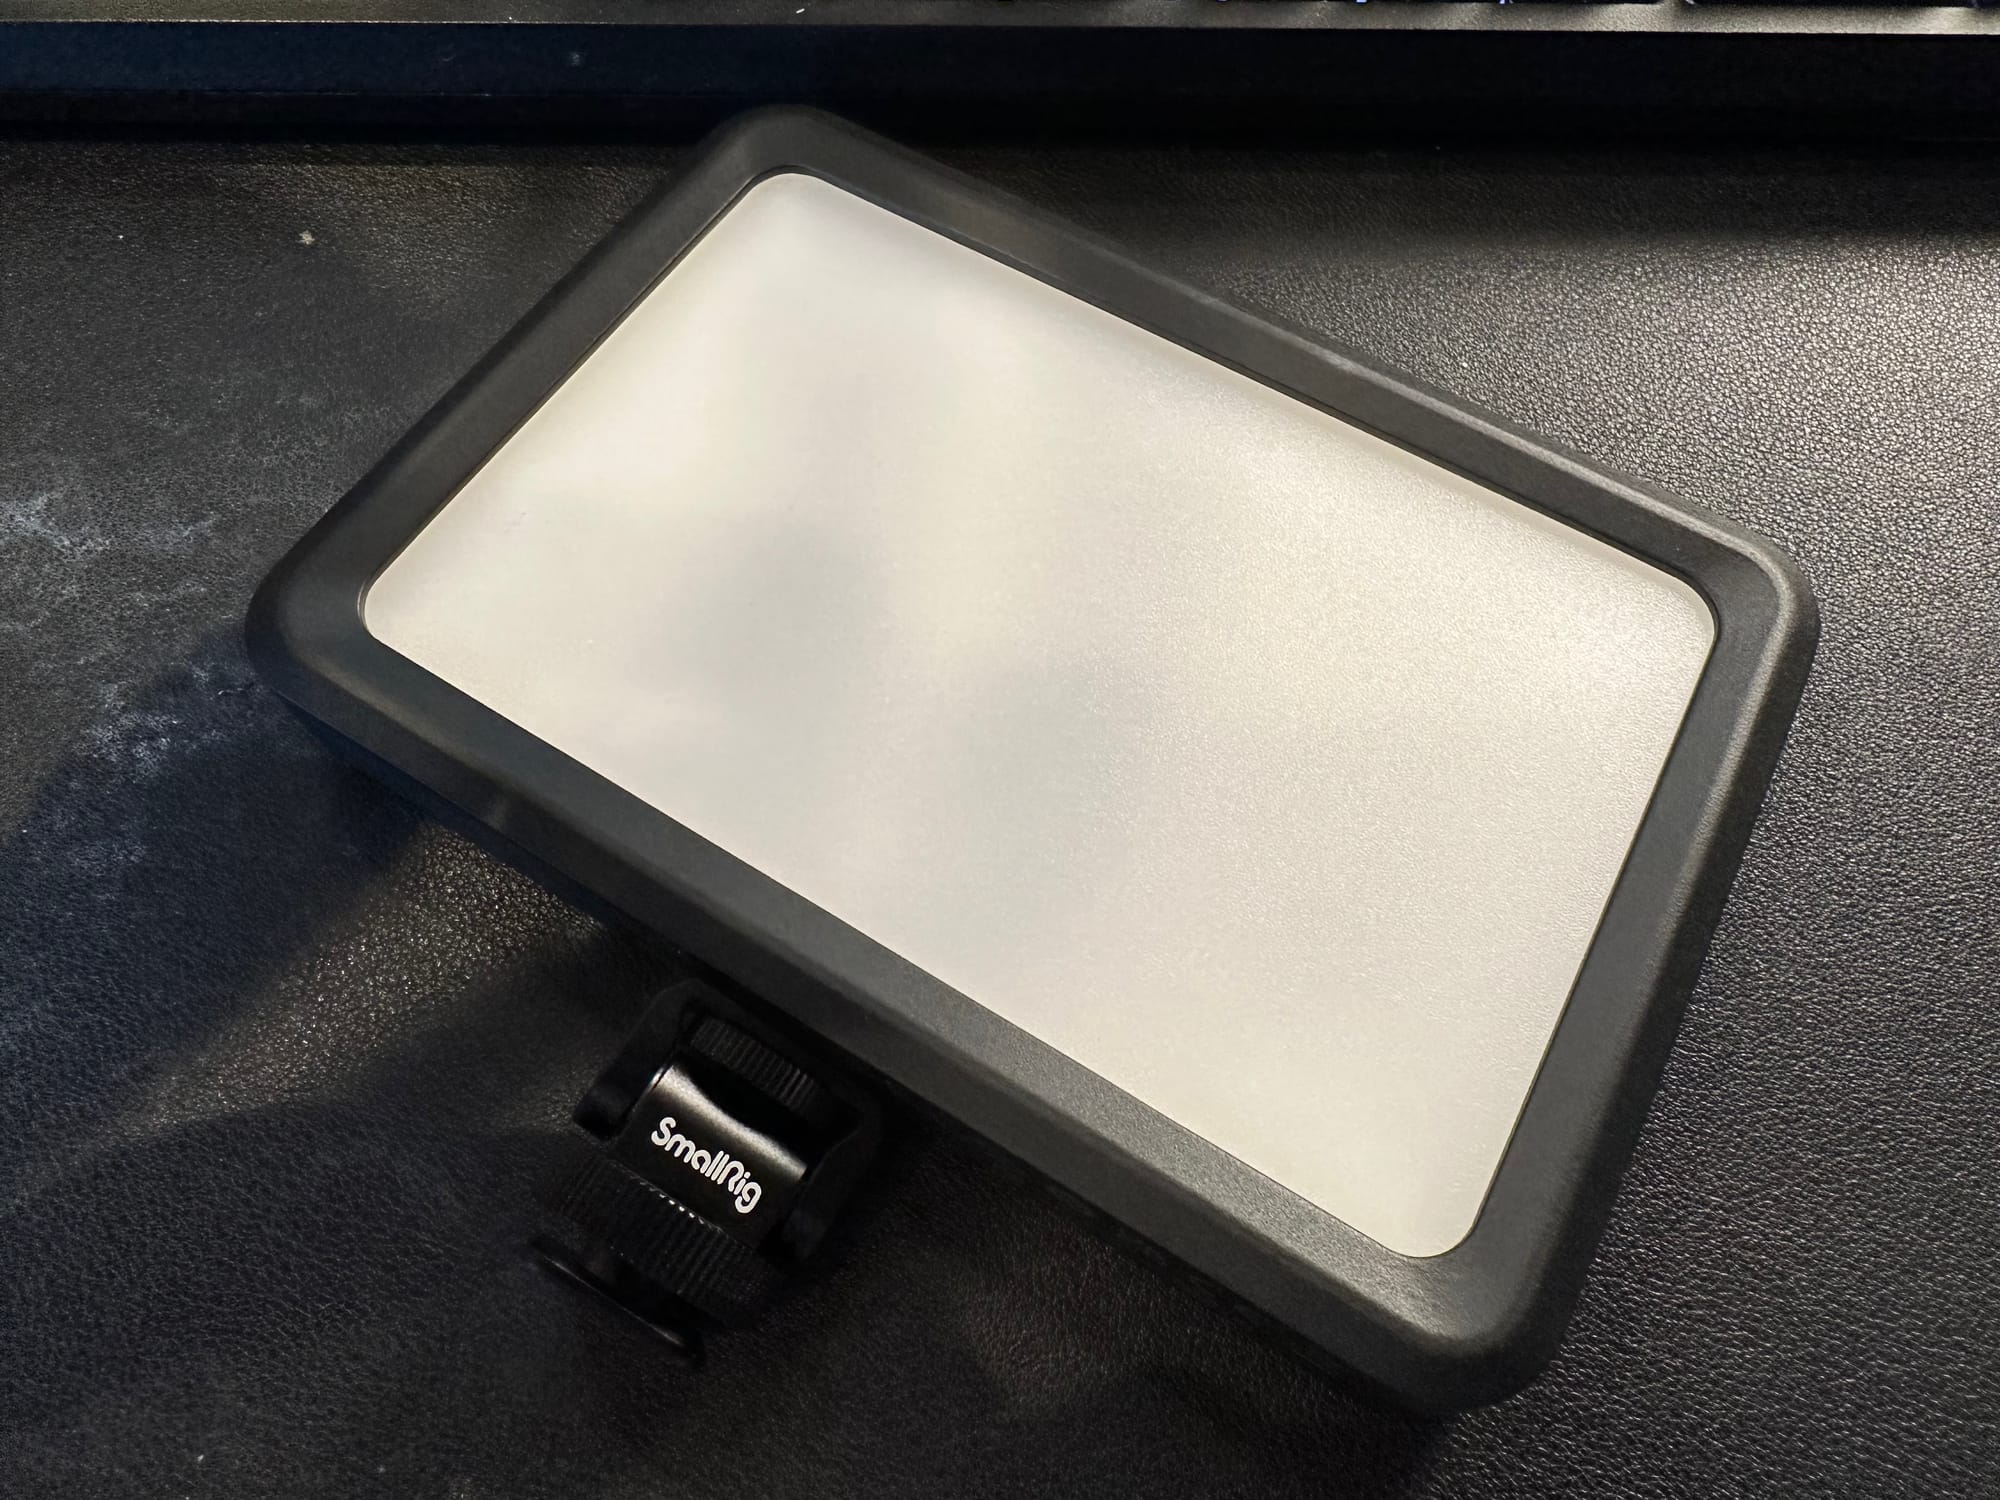
For on the move video, I’ve also picked up a small, but very mighty Elgato Key Light Mini. If you’re noticing a trend here with Elgato, it’s not accidentally. I’m very bought into their ecosystem for the lighting, and it’s helpful because I can control it all through the software they provide. I also picked up a mount for the Key Light Mini which allows me to slot it into the spare cold shoe slot on SmallRig.
Teleprompter
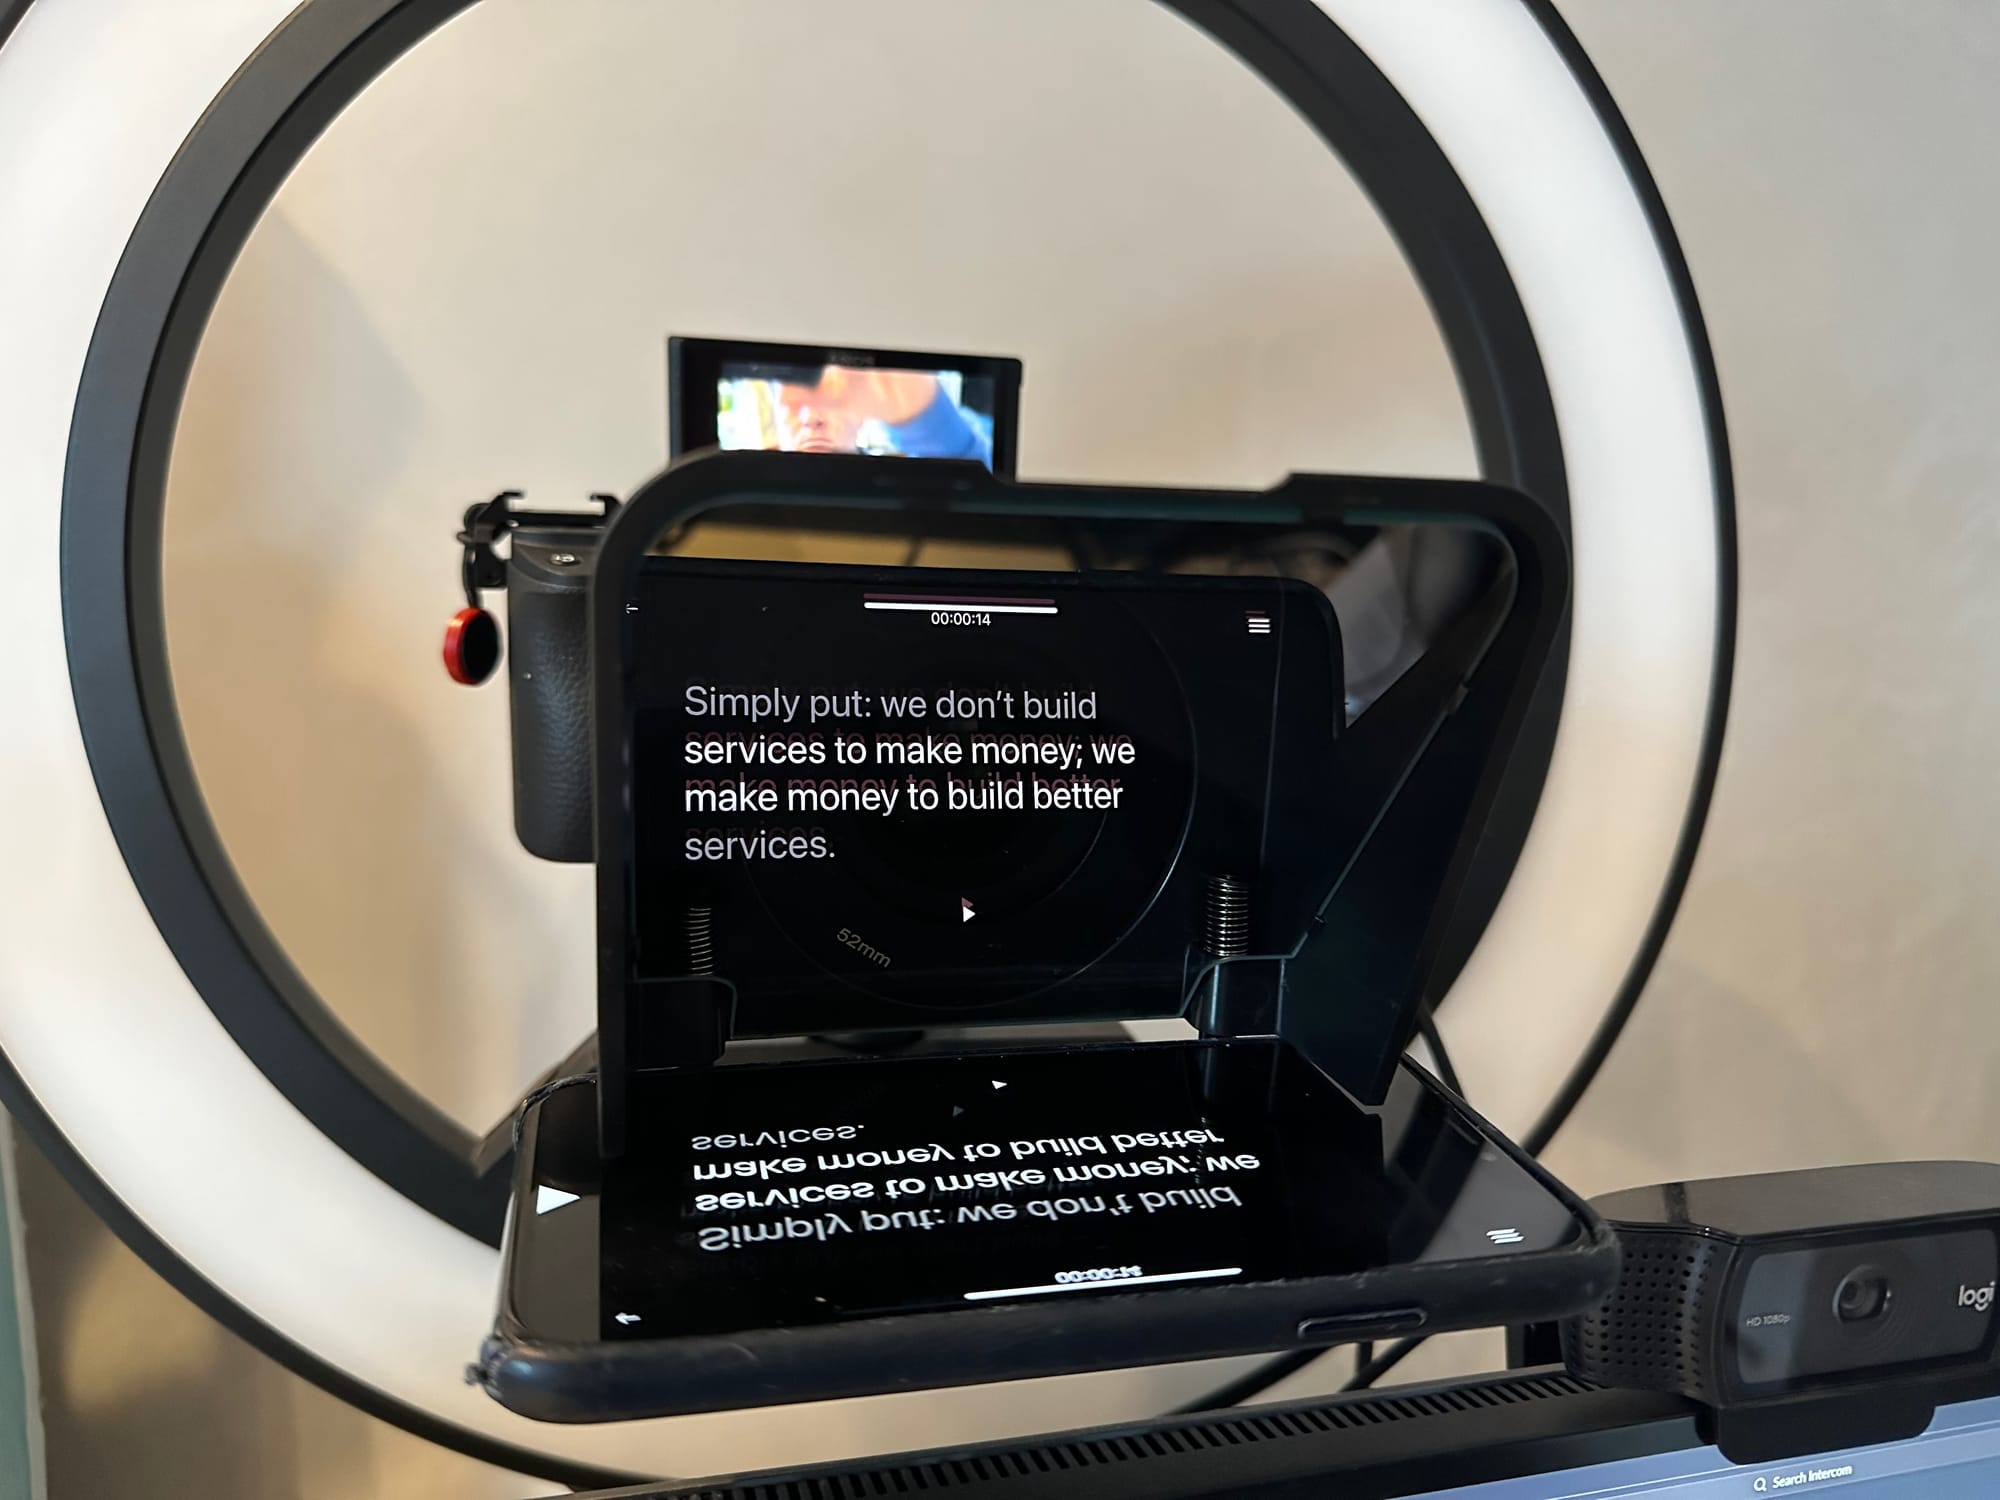
Yes, you read that right - teleprompter. Specifically a Padcaster Parrot Teleprompter. This is definitely the most bang for your buck if you have to give long talks, or other situations where near constant eye contact with the lens is important.
Essentially it a piece of equipment that mounts to the lens of your Mirrorless / DSLR which you then slot a phone into that is running a free app that scrolls your script right in front of you. And as it’s attached to your camera lens, it gives the appearance of you staring right into the camera, because you actually are. For those of you wondering, no, the audience cannot see any of the text, or the prompter. It’s totally invisible to them and makes a huge difference in my opinion. If you pick up anything in the post-holiday sales, I’d make it this.
Elgato Stream Deck
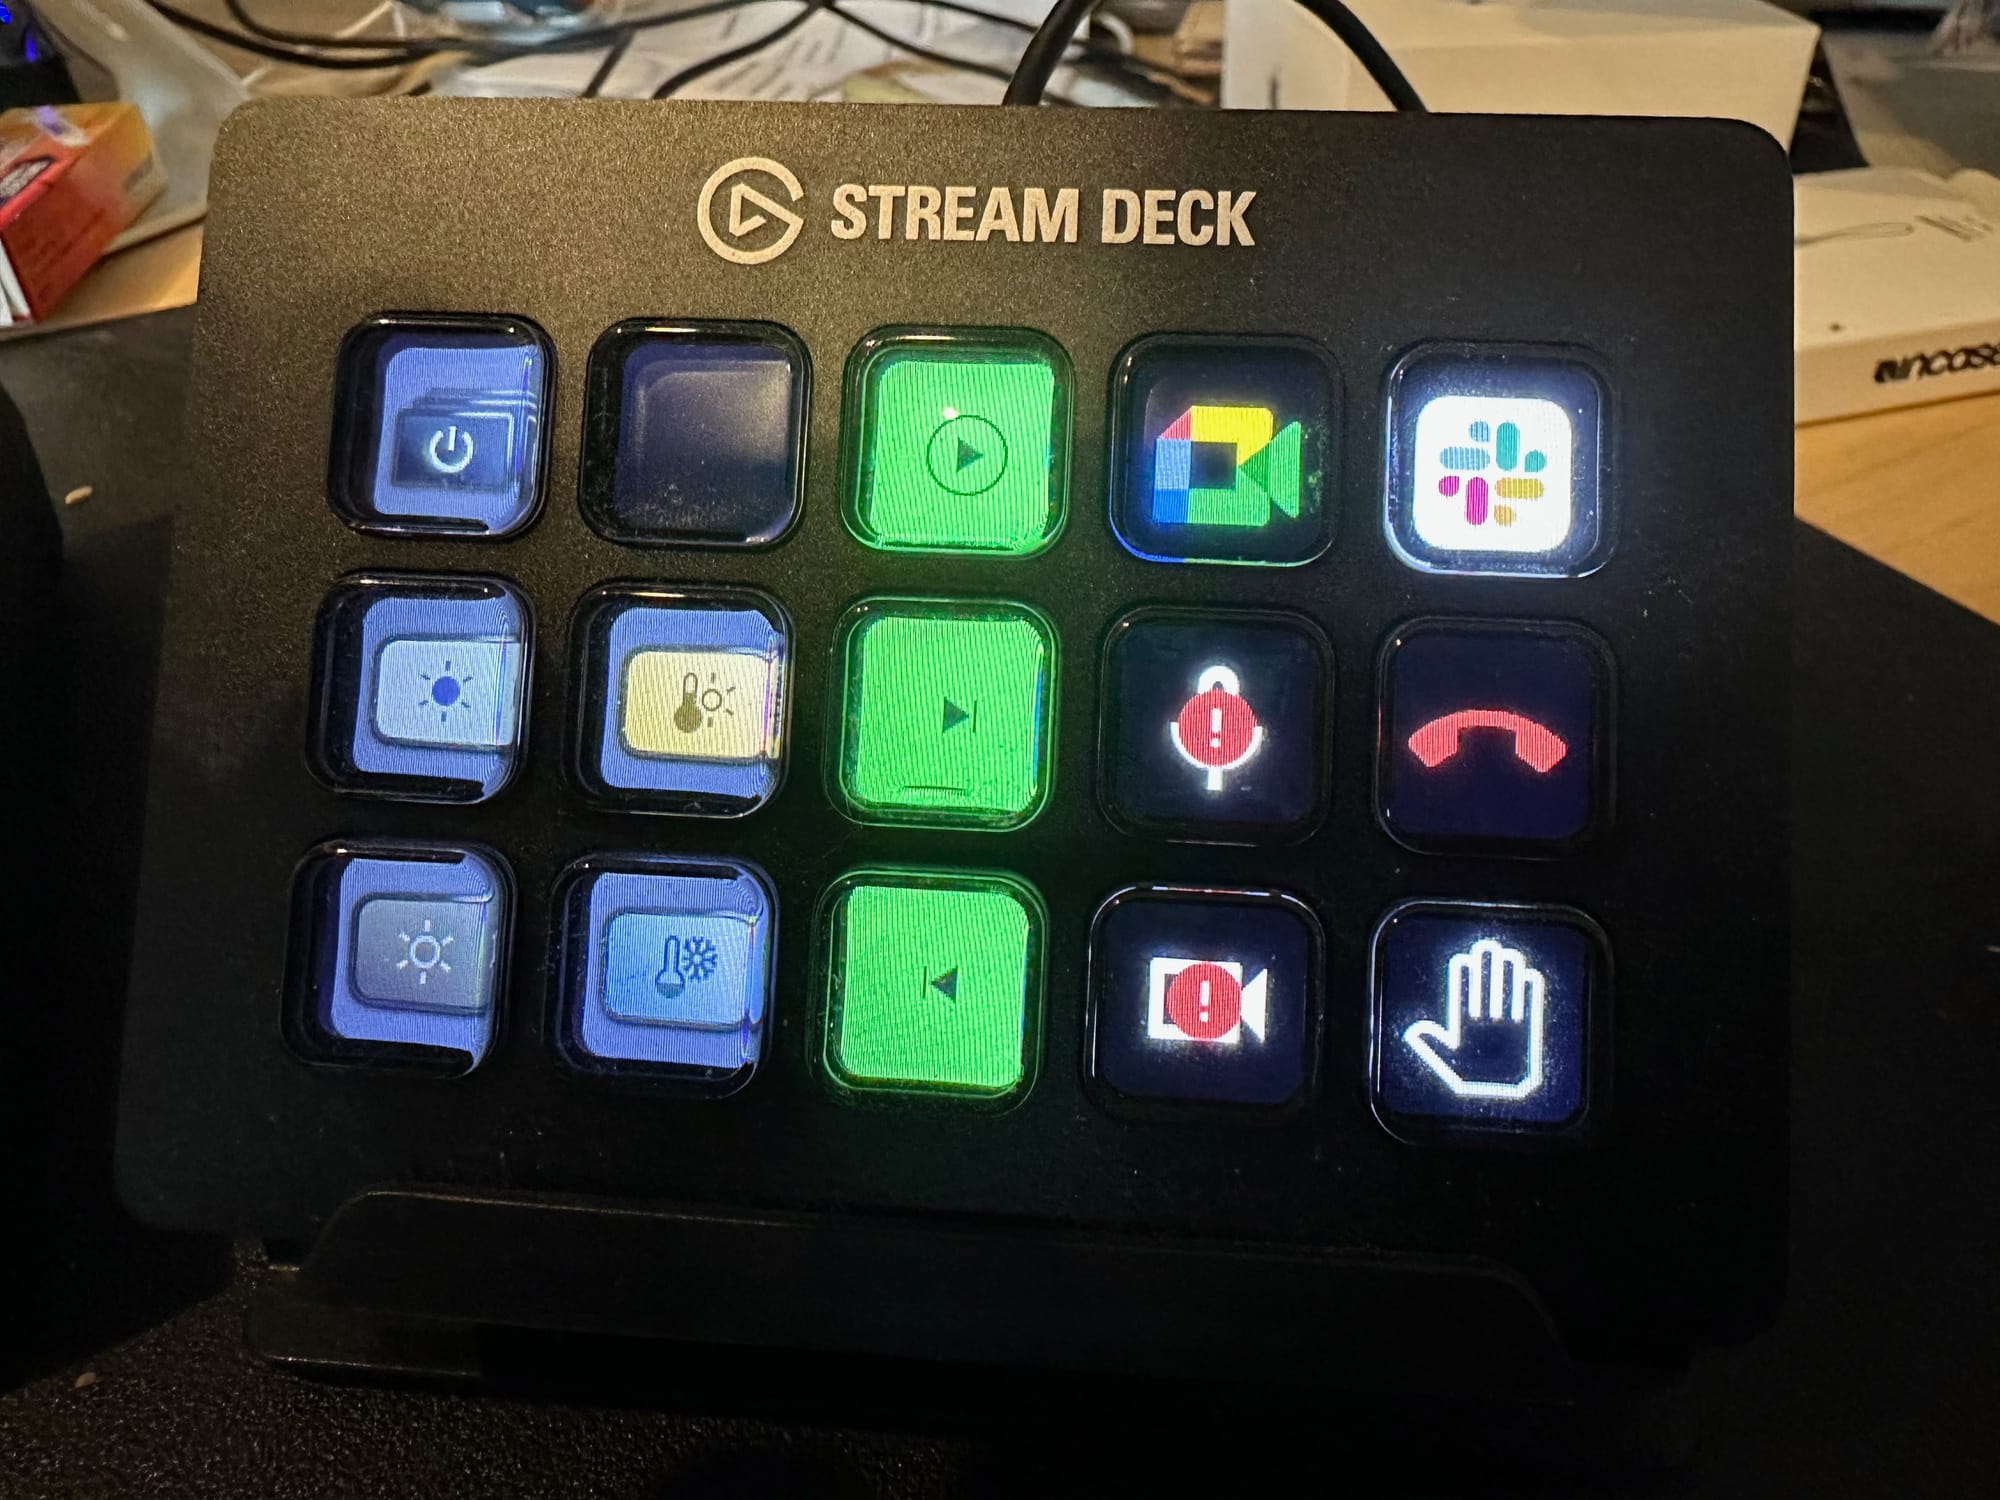
All of this equipment is more or less routed through my trusty Elgato Stream Deck. When I was writing the previous post, I was repurposing an old iPad Mini for this, but switching to the dedicated hardware was well worth it. It has an incredibly premium feel to it, and even when I’m not recording video, I use it to control my music and handy things like turning my microphone on and off during team meetings. I think of any of the equipment I’ve purchased, this is the one I would have zero hesitation recommending to anyone, regardless of whether they record video or not. It just incredibly handy to have a physical button to end a meeting, or mute yourself when you’re on a call.
What’s gathering dust?
When I look back over the previous post, for the most part, what I had then is still a part of my setup. What I’ve bought is less about replacing and more about augmenting for different situations. There are some exceptions though.
As I mentioned, I swapped out the iPad Mini for a dedicated Stream Deck. 100% would do that again. In fact, I’m tempted to upgrade to the Stream Deck + which has some physical dials.
I also upgraded my ring light. The Amazon one was…fine, but I couldn’t resist the allure of tying everything into the Stream Deck.
The last piece of equipment to mention is the Elgato Green Screen, which has probably gotten all of 10 minutes use since the original post. The bokeh effect of the sigma lens is so good, I’ve never felt the need to use the green screen, since you lose that nice blur completely. I’m sure I’ll find a use for it at some point, but for now, it’s just taking up space.
The content is still the star
This is more or less verbatim from my previous post, but I think it’s worth repeating. Especially for folks who are new to DevRel and/or might not be able to invest as much in equipment.
I’ll close out by reminding you that the choices I’ve made in terms of equipment reflect what works for me and I’m sure many others have made equally valid choices, both more expensive and cheaper. It’s important to remember though, that at the end of the day, video and audio equipment are just tools to help make your content shine. But if that content isn’t polished to start with, no amount of fancy lenses or shiny lights will make it interesting. Be sure you invest the time and effort there before you worry about how you look or sound.